


Where Should Pathway Lights Be Installed to Make Geelong Gardens Safer at Night?
You step out your back door at 9pm to take the bins out. The path looks fine in daylight…
You step out your back door at 9pm to take the bins out. The path looks fine in daylight, but right now it’s a dark strip of guesswork. You know there’s a step near the gate. You’re just not exactly sure where. So you shuffle forward, hands out, hoping you don’t faceplant into the rose bush.
That’s the thing about garden paths. They work brilliantly in the daytime and become a liability after sunset. The fix isn’t complicated, it’s about putting light in the right spots. Not everywhere. Just the spots that matter.
Here’s the short answer: pathway lights should go where people actually walk and where the ground changes. That means the front entrance and its approach, any steps or level changes, tight corners, narrow sections, and driveway edges. Space them 2 to 3 metres apart with overlapping pools of light. Keep them low, keep them off to the side, and point them down. Get those basics right and your garden becomes genuinely safer after dark, not just prettier.
Not every metre of path needs a light. If you light the whole thing evenly, you end up with that airport runway look; bright, flat, and a bit ridiculous. The smarter approach is to light the risk points and let the rest sit in gentle shadow.
Here’s where to prioritise.
The front entrance and its approach. This is the most important run of path on the property. It’s the one every visitor uses, it’s the one you use with arms full of groceries, and it’s the one that says something about your home before anyone knocks. Light it from the street edge all the way to the door.
Steps and level changes. Any step, no matter how shallow, is a trip hazard in the dark. Light both the top and bottom of stair runs so the change in height is obvious. If you’ve got a long or steep flight, lights at both ends are the minimum.
Corners and turns. A path that bends around a garden bed or a tree is fine in daylight. At night, you can’t see where it’s going. A light just before or at the turn tells your feet what’s coming.
Narrow sections. Where the path squeezes between a fence and a garden bed, everything feels tighter in the dark. A light here helps you keep your footing and stay on the path instead of trampling the plants.
Driveway edges and side access. The driveway is where cars and feet meet. Lighting the edge helps you park, helps guests find their way, and helps you spot anything out of place. Side paths to the back yard or shed deserve the same treatment.
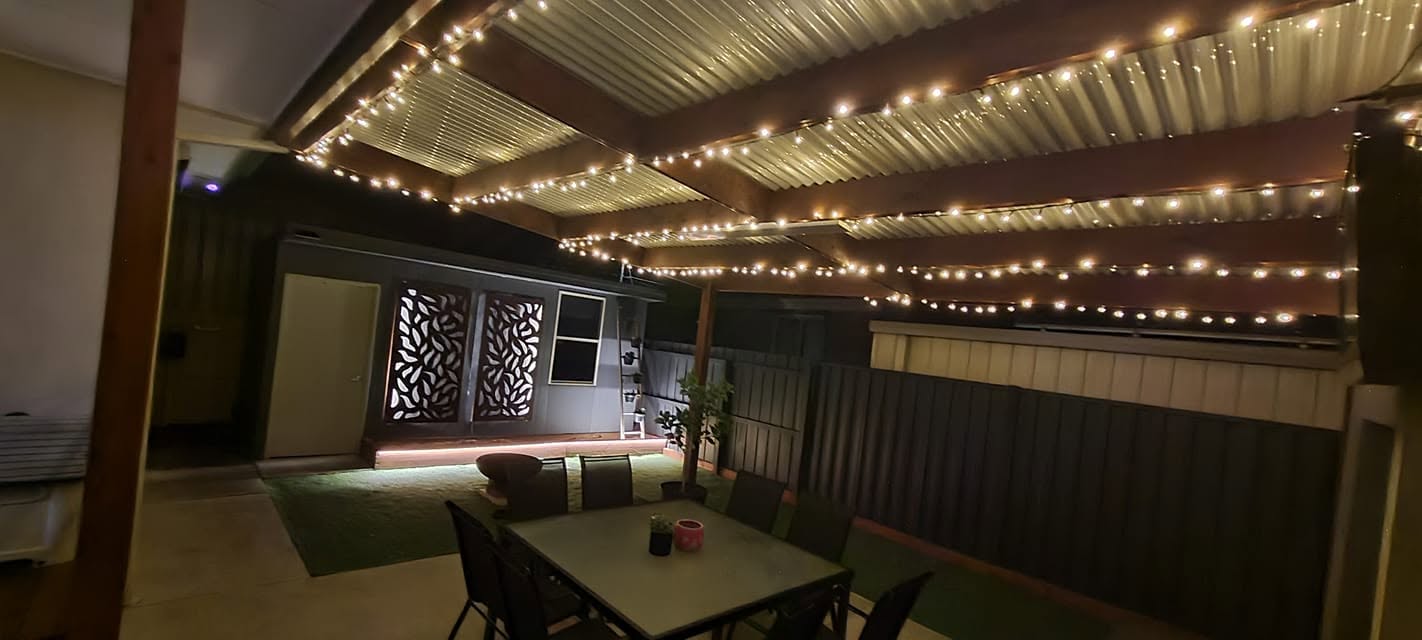
This is where a lot of DIY garden lighting installation Geelong go wrong. People either bunch the lights together, which looks frantic, or spread them too far apart, which leaves dark gaps between pools of light.
The general rule for residential paths is 2 to 3 metres apart. Some guides suggest a little wider for lower-output fixtures, and tighter for higher-output ones. The important thing isn’t the exact number, it’s whether the light pools overlap.
If you can stand on the path and see a dark patch between two lights, they’re too far apart. If the light looks like one continuous strip, they’re too close. You want soft overlapping circles, like stepping stones of light.
For bollard-style fixtures, spacing of 2.4 to 3 metres is a common recommendation. For smaller path lights, you can bring that in to around 2 metres without it looking crowded.
Knowing where not to put them is just as useful as knowing where to put them.
Don’t put them in the middle of the path. A light in the walking line is an obstacle. You’ll clip it with your foot, or worse, you’ll trip over it. Fixtures belong just off the edge, tucked into the garden bed or gravel margin.
Don’t point them at eye level. A path light that shines straight out will blind you as you walk. The light should angle down onto the ground, not across it.
Don’t crowd them along both sides. A perfectly symmetrical double row of lights makes a garden look like a runway. It’s rigid and overlit. One side is usually enough, with the odd light on the other side where the path shape demands it.
Don’t bury them in mulch or plant them where the mower hits. Path lights get damaged by whipper snippers and buried by fresh mulch every season. Lift them slightly proud of the bed, or use spike-mounted fixtures you can reposition.
Don’t shine them into windows or neighbouring properties. Light spill is annoying, and in some cases it breaches local nuisance rules. Aim the light downward and keep the beam tight.
Location | Why It Matters | Placement Tips |
Front entrance approach | First point of contact, most-used path | Light the full run from street to door |
Steps and stairs | Highest trip risk in the dark | Light top and bottom of every flight |
Corners and bends | Direction is invisible at night | Place a light just before the turn |
Narrow sections | Less margin for error | Keep fixtures off the walking line |
Driveway edges | Cars and feet meet here | Light the edge, not the centre |
Side access paths | Often neglected, still used | Same spacing rule as main paths |
Garden bed edges | Defines the path visually | Tuck fixtures into the bed, not the path |
Path lights aren’t meant to flood the yard. They’re meant to define the route and light the ground where you’re about to step.
Most residential path lights sit somewhere between 40cm and 60cm tall. Bollard styles can go a bit higher, up to around 90cm, but anything much taller starts to feel like street furniture rather than garden lighting.
The angle matters just as much. The beam should point downward and slightly outward, landing on the path surface a metre or so ahead of the fixture. If you can see the bulb itself from standing height, it’s aimed too high.
A common mistake is buying the brightest fixture available and assuming more light equals more safety. It doesn’t. A lower-output light with a well-shaped downward beam does the job better and looks far nicer.
You can buy solar path lights from a hardware shop and stick them in the ground. Plenty of people do. The problem is they’re inconsistent, they fade after a season or two, and they don’t integrate with anything else on the property.
For a proper setup, one that runs off your switchboard, uses low-voltage LED fixtures, and can be controlled with timers or sensors, you need a licensed Geelong electrician. Anything connected to your home’s 240V wiring is restricted electrical work in Australia. That’s not a DIY job, and it’s not something to hand to a landscaper who isn’t licensed for it.
Geelong’s weather adds another layer. Coastal air, wet winters, and strong UV mean cheap fittings corrode and fail. A proper install uses weather-rated fixtures, correct cable sizing, and a transformer that can handle the load. It also means the wiring is done in a way that survives the next decade of winters.
Kuna Electrics installs garden lighting across Geelong, including pathway lights, deck and patio lighting, feature garden lighting, and sensor or security lighting. We plan the placement around how the space is actually used; where you walk, where the steps are, where the dark spots sit, rather than just lining the path with matching fixtures.
You can, but it doesn’t work well. Solar lights get dim as the battery gets old. They also don’t do much on grey winter days in Geelong. Wired low-voltage lights stay bright every single night. Most people swap their solar ones out after a year or two.
It depends on how long your path is. It also depends on where it’s hard to see. A good rule is one light every 2 to 3 metres. Add a few more at steps, corners and the front door. The best way is to have someone come and look. A rule on paper can’t see your yard.
They don’t have to match. But they should look like they fit. Older homes suit warm, classic lights. New homes look good with thin, simple posts. Warm white looks nice in a garden. Cool white looks harsh and a bit blue. It just feels wrong outside.
A timer is the easiest. Set it to come on at dusk and switch off at a time that makes sense. Sensors are great for driveways and side gates. Smart controls are handy if your days change a lot. You can run them from your phone.
Yes, they help. Good lighting makes a home feel done and safe. You can use the yard after dark. It also looks great at evening viewings and in photos. It won’t add as much as a big reno. But it makes your home look better.
Good pathway lights are easy to miss. That’s the point. You step outside at night and know where to walk. The steps are easy to see. The front door feels warm, not dark and gloomy. We’re not after a big light show. We just want a yard that works at night.
We’re Kuna Electrics. We put in garden and outdoor lights all over Geelong. Want new pathway lights? Got a dark, tricky path? Give us a call. We’ll come out, take a look, and give you a fair, honest quote.
You step out your back door at 9pm to take the bins out. The path looks fine in daylight…

It’s a cold July night in Grovedale. The tenant texts the property manager…

Every few weeks we get the same call. A property manager rings us the day before a new….

Victoria’s move away from gas stops being a headline in 2027 and starts showing up in….